Hello Crafty Folks,
I'm glad to be guest designing at Nakshathra Designz again!
I received my GD kit containing the recently launched Celebration Time pack, Sparkling Diwali and Classic Black and White packs. With a lot of options to choose from, I have made 5 projects for you today :) Sit back and enjoy this picture heavy post! And don't miss, the best is saved for the last! :)
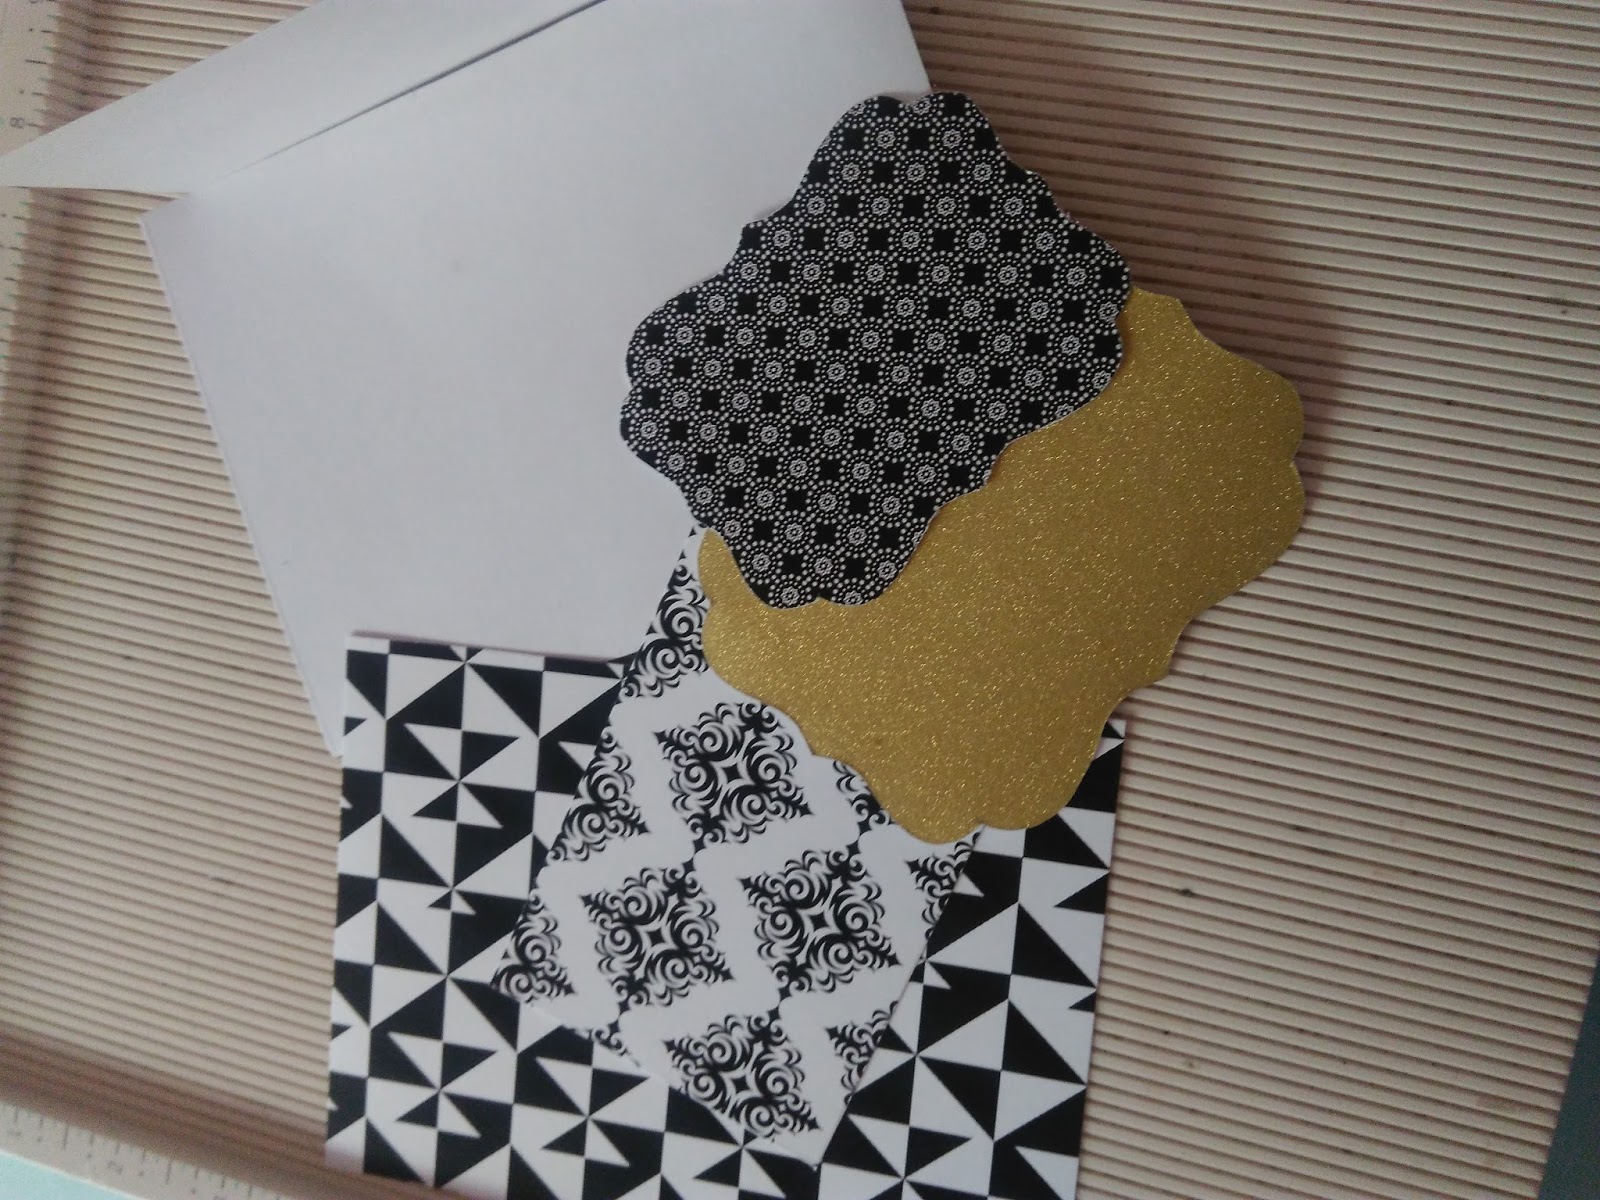
Creation 1: Classic Birthday Card
I created a layered card for birthday using the Classic Black and White patterned papers. The sentiment is stamped in Versamark ink, heat embossed in white and diecut using a frame die.


Creation 2: Birthday Celebration Card
For the second card, I have used a patterned paper from the Celebration Time pack. This is one amazing pack with beautiful celebration colors, bokeh effects and lights. I have added a diecut butterfly from Sizzix Winged Beauties dies and a few enamel dots to add more interest. The sentiment is from Mudra Let's Party stampset stamped using distress ink onto yellow cardstock. It is diecut using Gina Marie Scallop Stitched Rectangle die and adhered with foam tape.


Creation 3: Diwali Celebration Card
With Diwali around the corner, I created a simple card :) This paper is also from the Celebrations pack, diecut using Gina Marie Scallop Stitched Rectangle die. The sentiment is stamped using Gold ink from Itsy Bitsy, using Mudra Diwali stampset. I've added a few green enamel dots and adhered the panel onto a textured green cardstock.


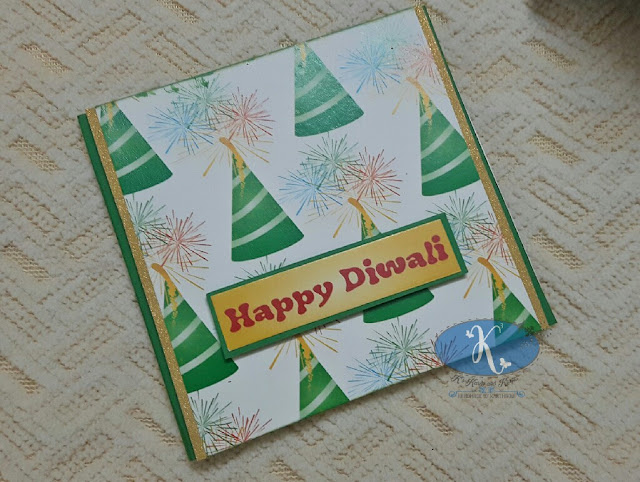
Creation 4: Diwali Crackers Card
For the 4th card, I used the Sparkling Diwali paper pack and chose a fireworks one. It is a square card with a simple layer of gold on the sides on base green cardstock. The sentiment is also from the same pack, matted onto green cardstock.

Creation 5: Celebration Mini Album
Now for the best of the 5 - a mini album! I wanted to try something special, and this is my first mini album of this type. It is made using a single sheet of 12x12 size. I loved the pink in the Celebrations pack and I chose a matching shimmer cardstock in pink for the base. I've used different dies for butterflies, inner pockets and the frame. I kept the embellishments to minimum and bordered with sequins.


Get to see the album in real! :)
Thank you for stopping by, hope you like my creations! :) Do let me know your feedback!
Have a nice day :)
I'm glad to be guest designing at Nakshathra Designz again!
I received my GD kit containing the recently launched Celebration Time pack, Sparkling Diwali and Classic Black and White packs. With a lot of options to choose from, I have made 5 projects for you today :) Sit back and enjoy this picture heavy post! And don't miss, the best is saved for the last! :)
Creation 1: Classic Birthday Card
I created a layered card for birthday using the Classic Black and White patterned papers. The sentiment is stamped in Versamark ink, heat embossed in white and diecut using a frame die.


Creation 2: Birthday Celebration Card
For the second card, I have used a patterned paper from the Celebration Time pack. This is one amazing pack with beautiful celebration colors, bokeh effects and lights. I have added a diecut butterfly from Sizzix Winged Beauties dies and a few enamel dots to add more interest. The sentiment is from Mudra Let's Party stampset stamped using distress ink onto yellow cardstock. It is diecut using Gina Marie Scallop Stitched Rectangle die and adhered with foam tape.


Creation 3: Diwali Celebration Card
With Diwali around the corner, I created a simple card :) This paper is also from the Celebrations pack, diecut using Gina Marie Scallop Stitched Rectangle die. The sentiment is stamped using Gold ink from Itsy Bitsy, using Mudra Diwali stampset. I've added a few green enamel dots and adhered the panel onto a textured green cardstock.


Creation 4: Diwali Crackers Card
For the 4th card, I used the Sparkling Diwali paper pack and chose a fireworks one. It is a square card with a simple layer of gold on the sides on base green cardstock. The sentiment is also from the same pack, matted onto green cardstock.


Creation 5: Celebration Mini Album
Now for the best of the 5 - a mini album! I wanted to try something special, and this is my first mini album of this type. It is made using a single sheet of 12x12 size. I loved the pink in the Celebrations pack and I chose a matching shimmer cardstock in pink for the base. I've used different dies for butterflies, inner pockets and the frame. I kept the embellishments to minimum and bordered with sequins.


Get to see the album in real! :)
Thank you for stopping by, hope you like my creations! :) Do let me know your feedback!
Have a nice day :)
You can buy all nakshathra designz products from: